


Daniel Ruiz, Senior Health and Science Editor.
There is a specific moment most women recognize: standing at the bathroom mirror, phone in one hand pulled up to a search bar, typing some version of “why does my foundation look cakey by noon” or “why does my foundation look orange in photos.” The bottle on the counter is usually not new. It might even be a holy grail, bought a year ago at Sephora or Ulta Beauty, that looked perfect in the store and strange by lunchtime.
The instinct is to assume the formula failed and go shopping for a replacement. More often, the problem sits somewhere between the bottle and the mirror: in how much product goes on, in what order, in what light the shade was chosen, and in what the skin underneath was doing before any of it touched. An expensive foundation applied over flaky, unprepped skin in a thick single layer will often look worse than an inexpensive drugstore bottle built up in thin layers over moisturized skin.
This guide is not about finding a better product. It is about getting more out of the one already sitting in the bathroom cabinet, using the techniques makeup artists rely on to make the same formula read differently depending on how it is handled.
- Skin prep decides more than the formula does: uneven texture and dry patches show through full coverage no matter how good the pigment is.
- Thin layers built in stages outlast one thick coat: less product applied in passes resists creasing, cracking, and midday breakdown.
- Tools change the finish, not the pigment: fingers, sponge, and brush distribute the exact same formula three different ways.
Why The Same Foundation Looks Different At 8 A.m. And 5 P.m.
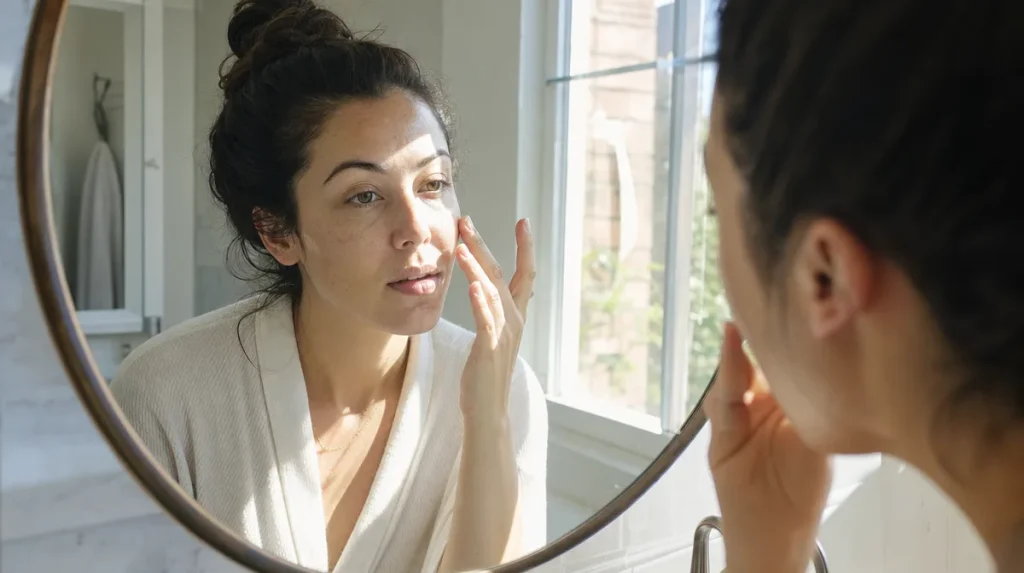
A foundation that looked perfectly matched under the fluorescent lights of a drugstore aisle can turn a shade too warm by midafternoon. This is not the bottle’s fault, and it rarely means a shade was chosen incorrectly in the first place.
Skin produces oil throughout the day, and that oil interacts with pigments in the formula much the way a sliced apple left on the counter darkens once it meets the air. The surface chemistry shifts, not the fruit itself. A 2019 study in the Journal of Cosmetic Science examined this process in liquid foundations and found that oxidation of certain iron oxide pigments, triggered by skin’s natural sebum and ambient humidity, can visibly shift the finished shade within four to six hours of wear.
The practical fix starts before application. Blotting excess oil at midday, rather than layering more foundation on top of it, slows the reaction. Choosing a shade that reads slightly cool or slightly light in the bottle, since most formulas warm up on contact with skin, also extends the window of accuracy. None of this requires a new bottle. It requires watching how the one already in the cabinet behaves after lunch, not just at 8 a.m. in the bathroom mirror.
Finding Your Undertone In Daylight

Store lighting and bathroom vanity bulbs both distort color, usually toward yellow or an unflattering blue-white, which is why so many foundation returns happen after a few days of real-world wear.
The most reliable test costs nothing: stand near a window with indirect daylight, midmorning if possible, and look at the inside of the wrist and the side of the jaw without makeup. Most skin falls into a warm, cool, or neutral undertone, and most brands sold at Target, CVS, or Walgreens now organize their ranges by depth, fair through deep, with a small undertone letter or number alongside.
The common mistake is matching to the back of the hand, which is usually a shade or two lighter than the face and neck. A better swatch site is the jawline, blended down toward the neck, then checked again once it has set for ten minutes. If it disappears into the neck rather than sitting on top of the jaw like a mask, the depth is right. If it reads orange or ashy after it sets, the undertone needs adjusting, not necessarily the depth.
Many Sephora and Ulta Beauty counters offer shade matching under daylight-corrected lighting, which is worth using even when the plan is to keep applying at home with an existing bottle. The goal is simply to know whether the shade already owned runs warm or cool of true, so a sheer corrective layer underneath can compensate without buying anything new.
What Skin Needs Before Foundation Touches It
Full-coverage formulas are built to sit on the surface and mask unevenness, which means they also exaggerate whatever texture is already there. Dry, flaking patches will show through as pale, dull islands, and the American Academy of Dermatology’s public guidance on dry skin notes that regular moisturizing helps maintain the skin barrier, which in turn gives makeup a smoother surface to grip.
Think of skin like a wall before paint. A wall with peeling patches will show every flaw under a fresh coat, no matter how good the paint is, while a wall that has been sanded and primed takes color evenly. Skin works the same way: a thin layer of moisturizer, allowed to absorb for a few minutes before foundation goes on, fills in fine dry patches so pigment sits flat rather than clinging unevenly to rough spots.
Primer is optional, not mandatory, and its main job is to slow the absorption of foundation into skin, not to add coverage of its own. For drier skin types, an extra thirty seconds patting moisturizer around the nose, chin, and any flaky areas does more for the finished look than an expensive primer applied over unprepped skin. For oilier skin, a lightweight, oil-free lotion serves the same leveling purpose without adding shine.
Building Coverage In Thin Layers Instead Of One Thick Coat
The instinct when covering redness or dark spots is to apply more product in one pass. This almost always backfires: a thick single layer sits on top of skin rather than in it, settles into fine lines by midday, and can crack along the sides of the nose the way dried mud cracks on a riverbank once it loses moisture.
The better method, used by makeup artists working on film sets where cameras catch every imperfection, is to build in thin layers and let each one set for about sixty seconds before deciding whether more is needed. A pea-sized amount applied first across the whole face, pressed in rather than dragged, often turns out to be enough on its own. Only the areas that still need help, usually around the nose, chin, or under the eyes, get a second light pass.
This approach uses less product overall, which also means the bottle already in the bathroom lasts considerably longer. It is also more forgiving of shade mismatch, since thin layers blend into the neck and hairline more easily than a thick one, leaving no visible line of demarcation.
Fingers, Sponge, Or Brush: How Each Tool Changes The Finish
The same foundation can look like three different products depending on what applies it, because each tool changes how much product reaches the skin and how it sits once there.
Fingertips warm the formula, which helps it melt into skin and gives the most natural, skin-like finish, though they deposit the least even layer and can leave light pulling on drier patches. A damp makeup sponge, bounced rather than dragged, absorbs some excess product as it blends, which is why sponge application generally reads as more sheer even when the same amount is used, and gives a soft, airbrushed look. A brush, particularly a dense buffing brush, deposits the most product and builds coverage fastest, but can also leave visible streaks if moved in one direction only rather than in small circular motions.
None of these tools changes the pigment load inside the bottle. They change distribution. A reader who finds her foundation always looks heavier than intended may simply be using a brush where a sponge would read more natural, while someone struggling with patchiness on drier skin may get better results from fingertips, which generate a small amount of warmth that helps the product settle rather than sit.
Setting Powder Without Crossing Into Cakey Territory
Setting powder’s job is to absorb excess oil and hold foundation in place, not to add another layer of coverage. Used with a heavy hand, it does the opposite of what it promises: it sits on top of the foundation like a dusting of flour on wet dough, drawing attention to every line and pore it touches.
The better approach targets only the areas that actually get oily during the day, typically the center of the forehead, the nose, and the chin, rather than the whole face. A small, fluffy brush, tapped to remove excess powder before it touches skin, and pressed rather than swept across these zones, sets the makeup without adding visible texture. Cheeks and under-eyes, which tend to be drier, usually need little or none.
Translucent powder works for most skin tones, but readers with deeper skin should watch for formulas that leave a gray or ashy cast, a known issue the beauty press, including Allure and Byrdie, has written about for years. A powder that looks invisible on fair or light skin can still flash white or gray on tan or deep skin under flash photography, so testing indoors under daylight, not just under a bathroom bulb, catches this before leaving the house.
Keeping Coverage Intact Through A Humid Afternoon Or A Dry Heated Office
Climate changes how long any foundation holds, regardless of its claimed wear time on the label. Humid East Coast summers push oil production up, which speeds the oxidation process described earlier and can also cause foundation to slide toward the center of the face by early afternoon. Dry winters, especially indoors with heating running, pull moisture out of skin, which can make the same foundation look flaky or sit in fine lines that were not visible in October.
The fix is seasonal, not a different product. In humid months, a translucent powder touch-up carried in a bag, applied only to the T-zone, resets the surface without adding more pigment. A blotting paper used first, before any powder, removes oil more cleanly than powder alone and prevents the cakey buildup that comes from powdering over oil repeatedly through the day.
In dry winter months, a hydrating setting mist, misted from arm’s length and allowed to air dry rather than blotted, can re-wet the top layer of foundation and smooth out fine lines without disturbing coverage underneath. Keeping a travel-size moisturizer at a desk for a midday reapplication under makeup, even a small dot pressed into dry patches, does more for a tired-looking afternoon face than reapplying foundation on top of dry skin.
The Jawline And Neck Test: Catching Mismatch Before You Leave The House
The fastest way to catch a shade problem is also the one most people skip: a daylight check after the face is fully done, not just after the first layer.
Stand near a window, tilt the chin down slightly, and look at the jawline where face meets neck. A well-matched foundation disappears at this border. A foundation sitting even a half-shade off will show as a faint line, often more visible in photographs than in the mirror, which is why so many selfies reveal a mismatch that looked fine indoors.
A second useful check: press a clean fingertip gently into the cheek and release. Coverage that is holding up well will not visibly crease or move at the point of pressure. If it does, and it is still early in the day, that is usually a sign too much product was applied in one layer rather than built in thin passes.
This two-step check, done at the door before leaving rather than only at the bathroom mirror, catches most of the mismatches and texture problems that a reader would otherwise only notice secondhand, in a photo taken later in the day.
Key Takeaways
- A foundation shade that looks right in the bottle can shift as skin oil oxidizes certain pigments through the day.
- Daylight near a window, checked at the jawline, is a more reliable match test than any bathroom mirror or store counter.
- Moisturized, prepped skin takes foundation evenly; dry patches and rough texture show through no matter how good the formula is.
- Thin layers built in stages hold up better than one thick coat, and use less product overall.
- Fingers, sponge, and brush each change the finish of the exact same formula, not the amount of pigment inside it.
- Setting powder should target oily zones only, and humid or dry climates call for different touch-up habits, not a different bottle.
A Two-minute Checklist Before You Leave The House
- Check the jawline in daylight, not under bathroom lighting.
- Confirm moisturizer has fully absorbed before applying foundation.
- Apply in thin layers, waiting roughly sixty seconds between passes.
- Match the tool to the finish wanted: fingers for natural, sponge for soft, brush for buildable coverage.
- Set only the areas that get oily, not the whole face.
- Press a fingertip into the cheek to confirm the layer is holding before stepping outside.
This article is for general information only and does not replace personalized advice from a dermatologist or makeup professional.
Individual results vary depending on skin type, climate, and application technique.